Continuos Integration. A simple guide on how to install everything locally to get familiar with it.
For this test you can use your local machine, a remote server or a virtual machine.
I decided to install all this tools on a virtual machine running Windows Server 2016 using Virtual Box. Virtual Box is running on my local Win10 host machine.
The Repository Server
Install a Git Repository Server
As a git repo server I decided to try Go Git Service (Gogs https://gogs.io/).
How to install gogs:
1) Install Git https://git-scm.com/download/win
2) Install mysql server (I installed the 5.7 version) https://www.mysql.com/downloads/
2a) In order to install mysql you need to install Install Visual C++ Redistributable Packages for VS 2013 link (this is required by mysql)
2b) NOTE: If the installation fails you need to install the following update link
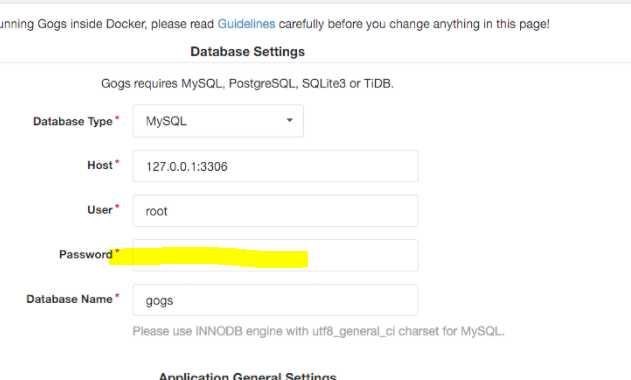
Once mySQL is installed you need to create a database named gogs


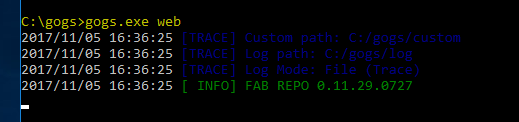
3) Install gogs: download the binary: https://gogs.io/docs/installation/install_from_binary, unzip it and run it
4) navigate to 127.0.0.1:3000, insert your mysql password and click install
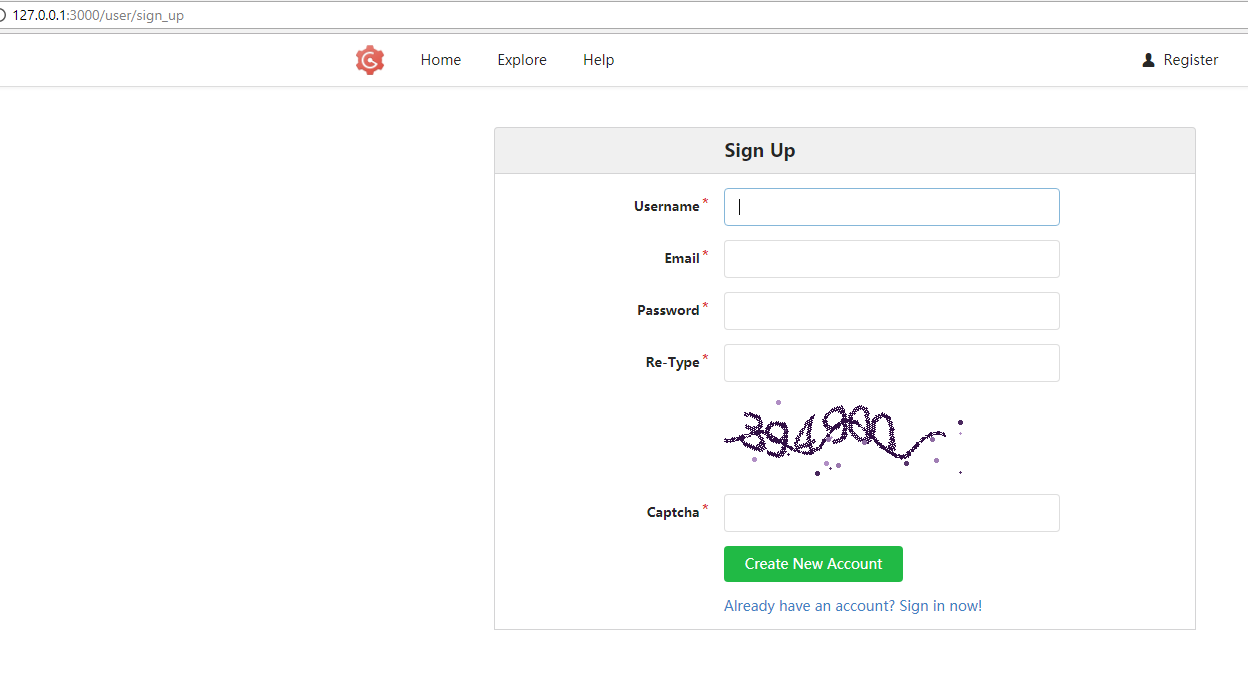
5) create an account and create your first repo
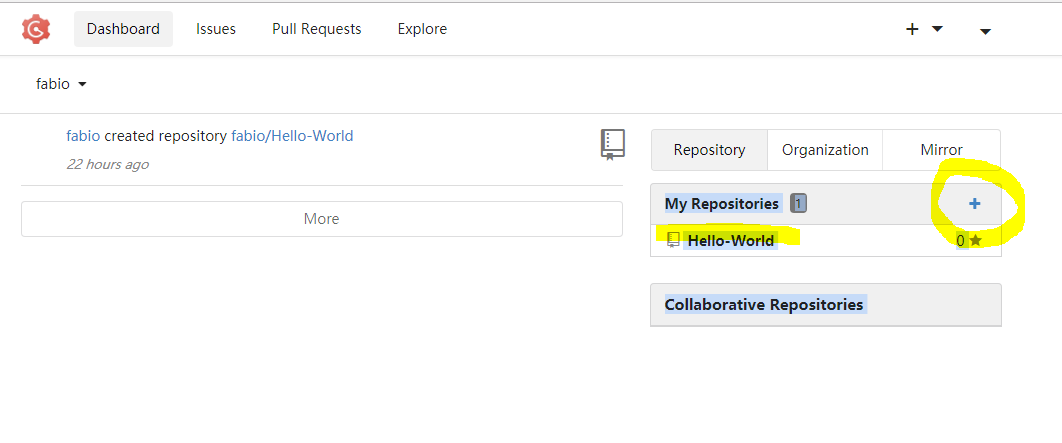
Now GOGS is up and running!!!
Machine Settings
If you have installed gogs on your remote server or in a virtual machine you need to create an inbound rule for gogs in your server/vm firewall to be able to navigate to the gogs repo from your client.
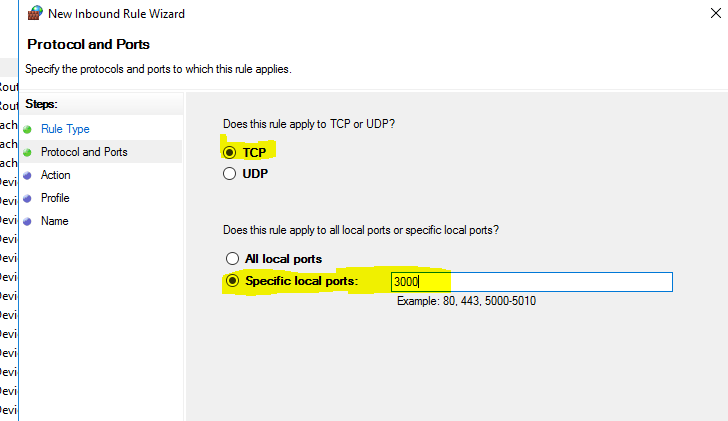
1)run wf.msc
2)create inbound rule: allow TCP connection on port 3000
3) from your client machine check if you are connected: http://server-ip:3000
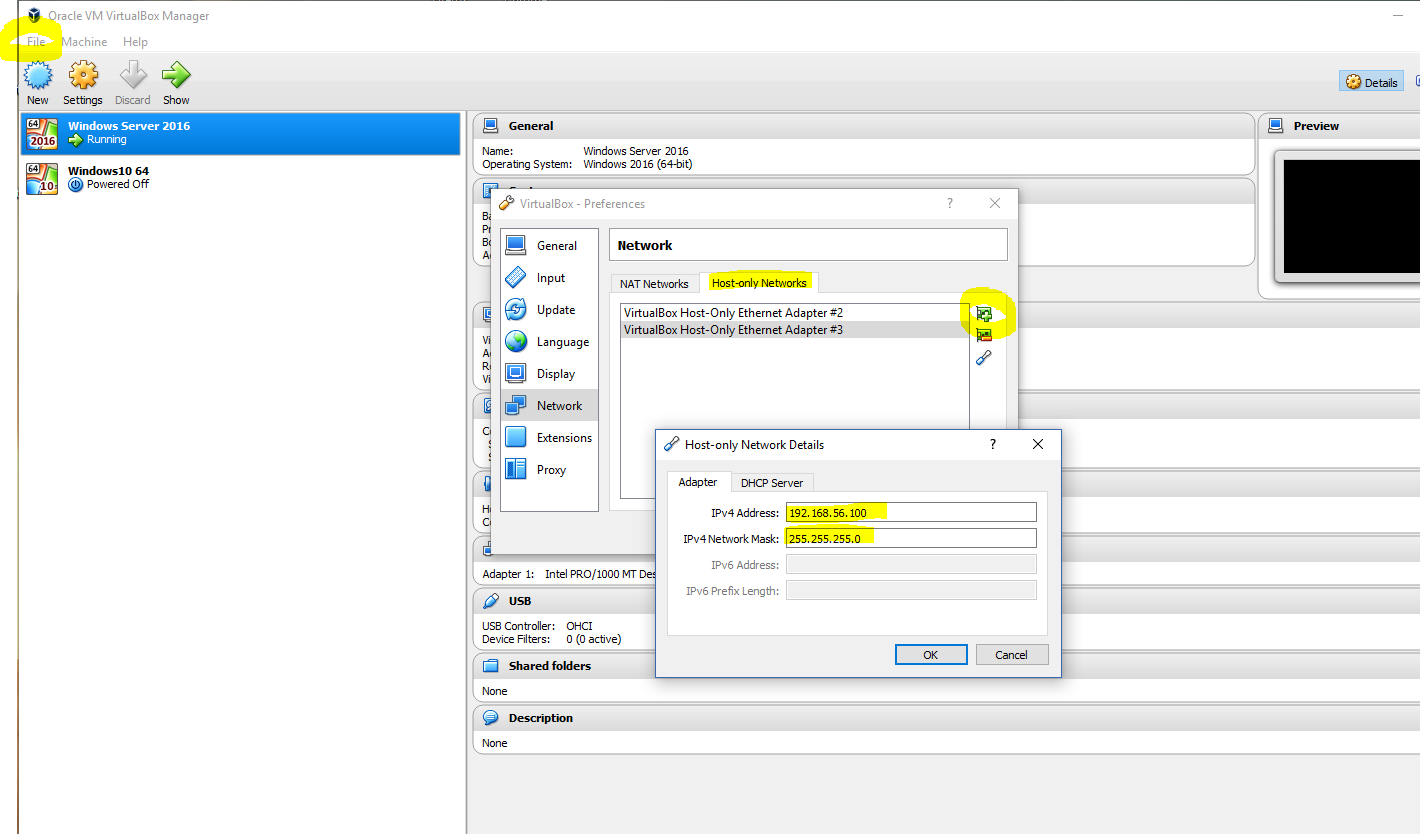
NOTE: If you are using virtual box you need to set up a couple of things first:
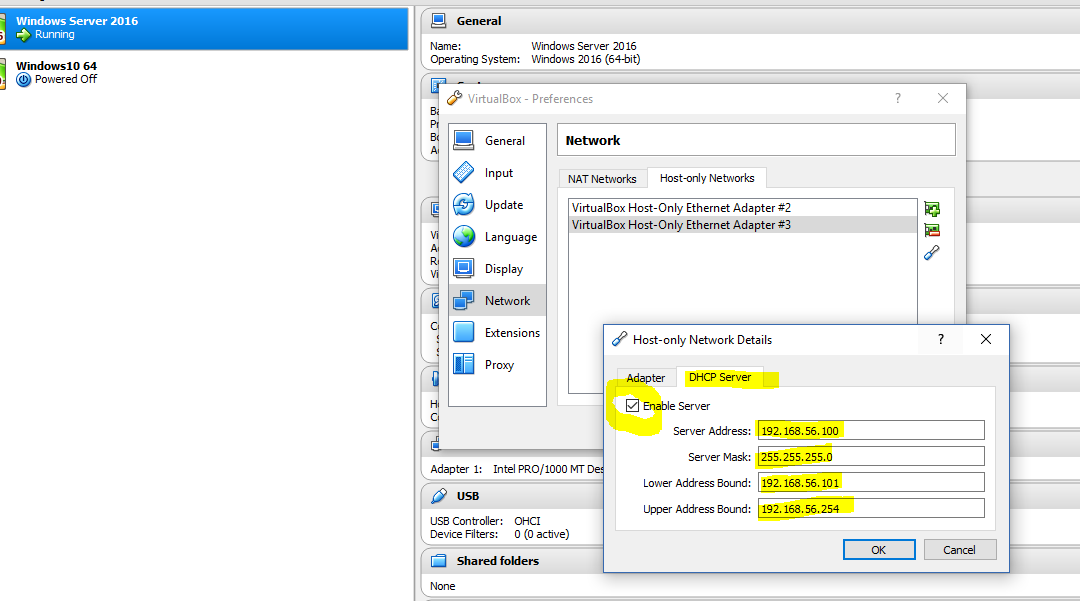
1) go to file > preferences > network > host only network > add new one and insert the following values
2)on your VM settings, navigate to network and select host only adapted and the name of the adapter just created
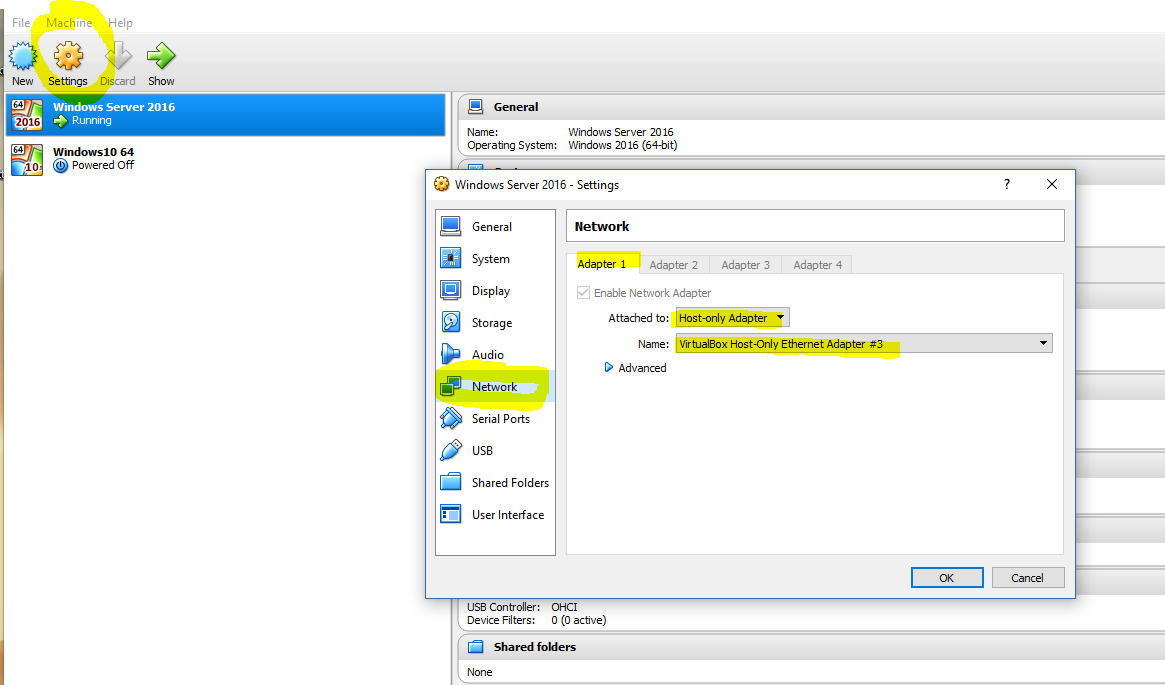
from your guest machine run ipconfig to determine the ip address, now from your host machine you should be able to access to the gogs repo http://guest-machine-ip:3000
Test the Repo
Clone your first repo http://server-ip:3000/{user}/{your-first-repo}.git
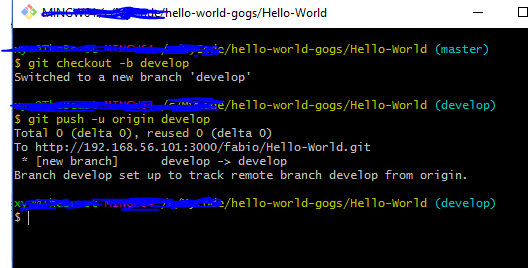
Add a new file locally and push it into the server
Create a new branch from master and push it..
Run Gogs om startup
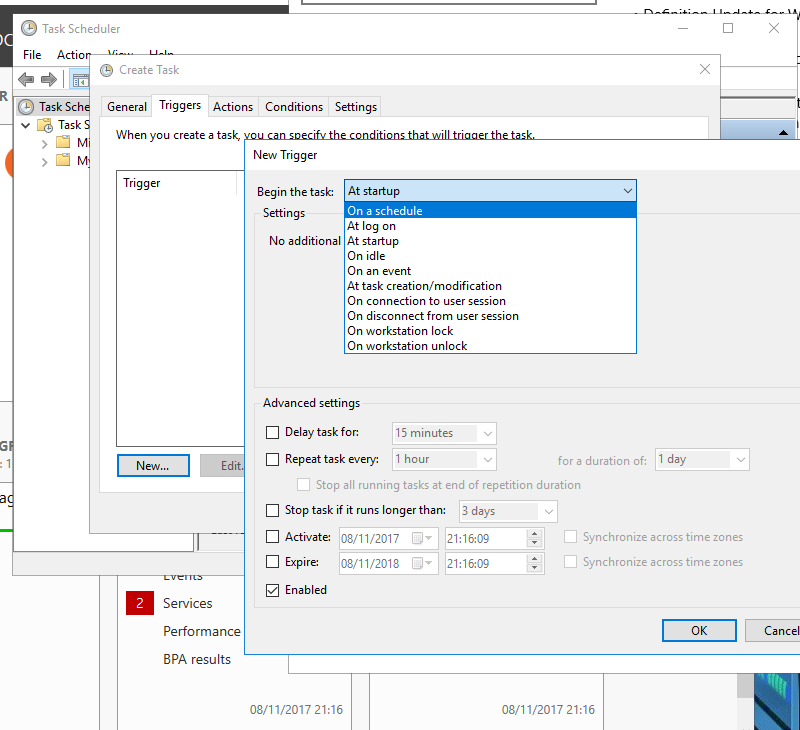
On windows lanch task scheduler and create a new task
On trigger tab select AtLogOn or AtStartup
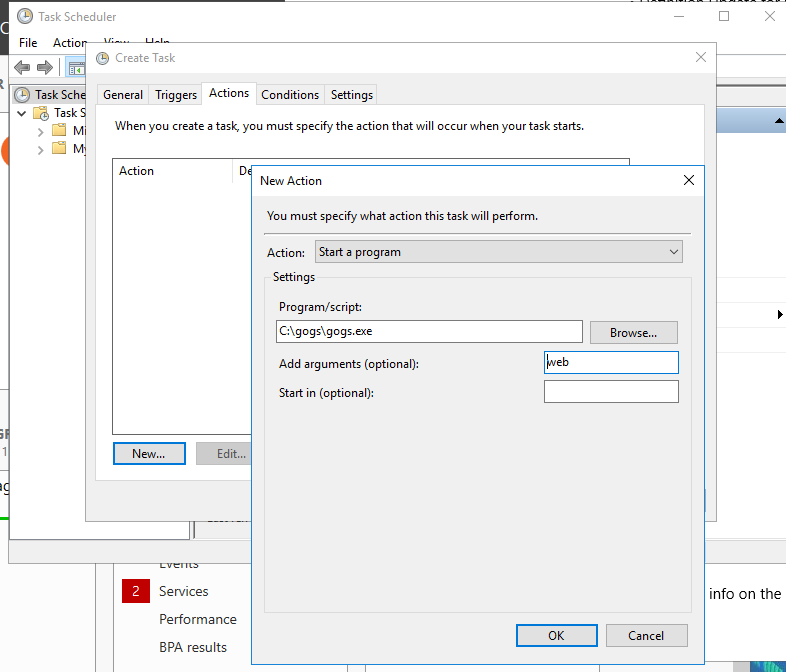
On action tab point to gogs.exe and add “web” as input parameter
The Deployment Automation Server
As a deployment automation & release server I dedided to use Octopus
Install Octopus Server
For this test I’ve installed octopus in the same remote machine I installed gog.
Octopus needs sql server to function, so I’ve intalled sql server express. After that I started the installation of octopus:
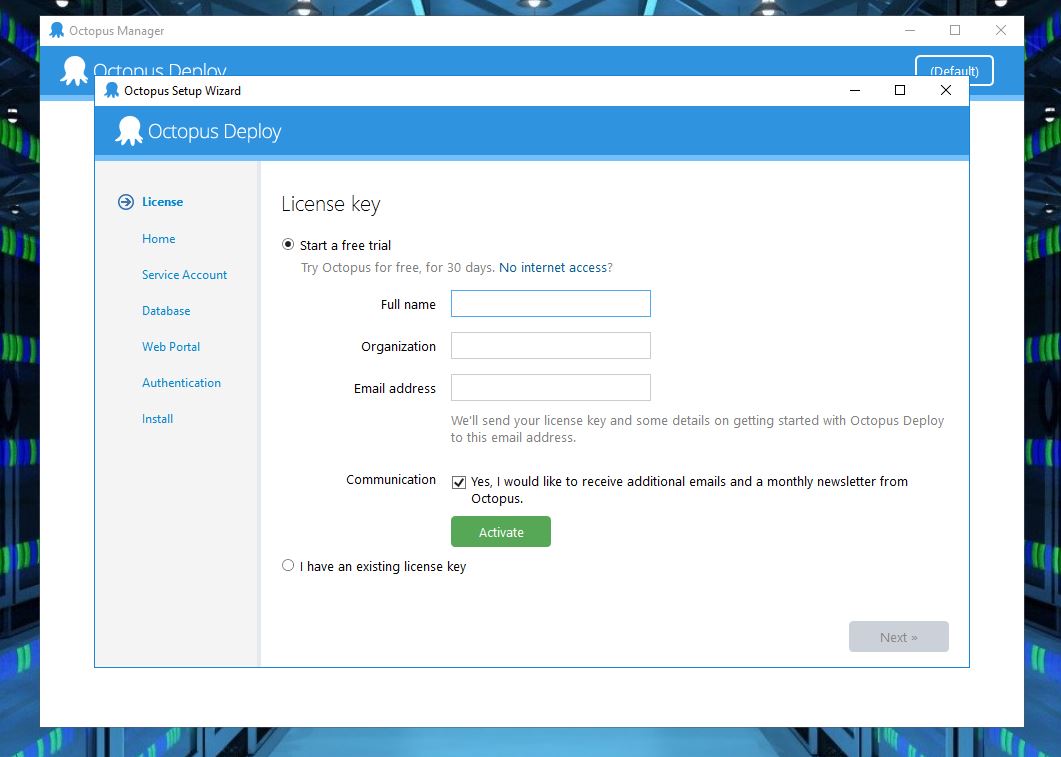
Check “start a free trial”, after 30 days you can still use it.. you just need to convert it into octopus community edition
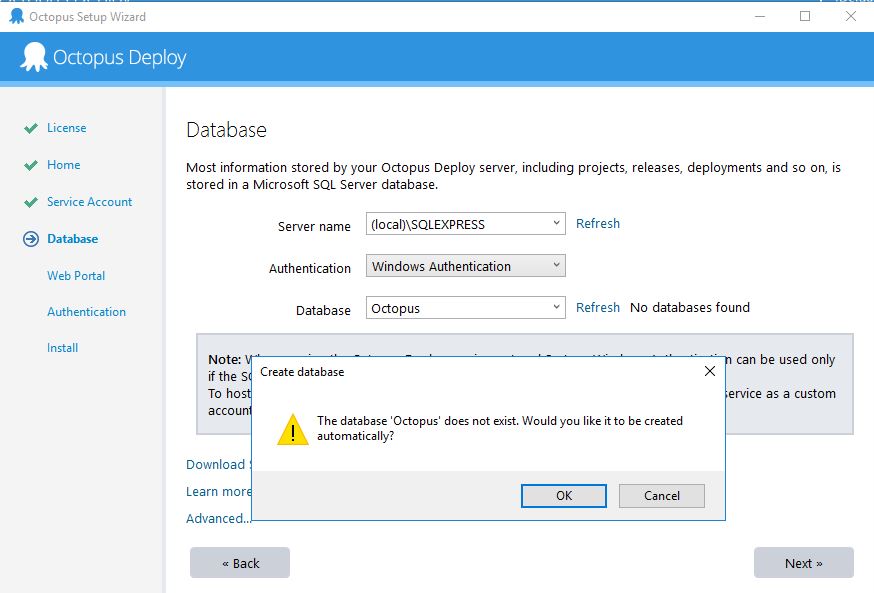
I created a db named Octopus. In the next step select the port where ocopus deploy server is going to accept connection. After that set up admin user and password
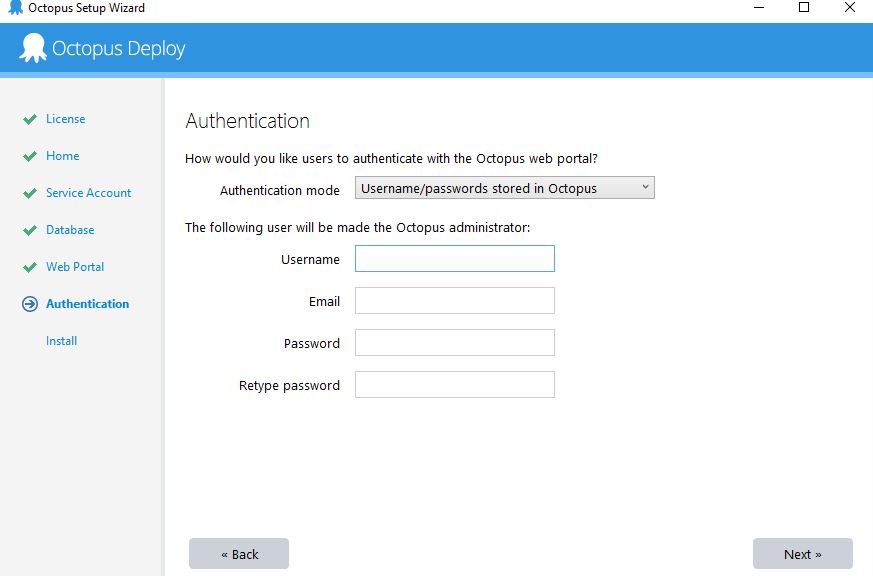
..finally click install!
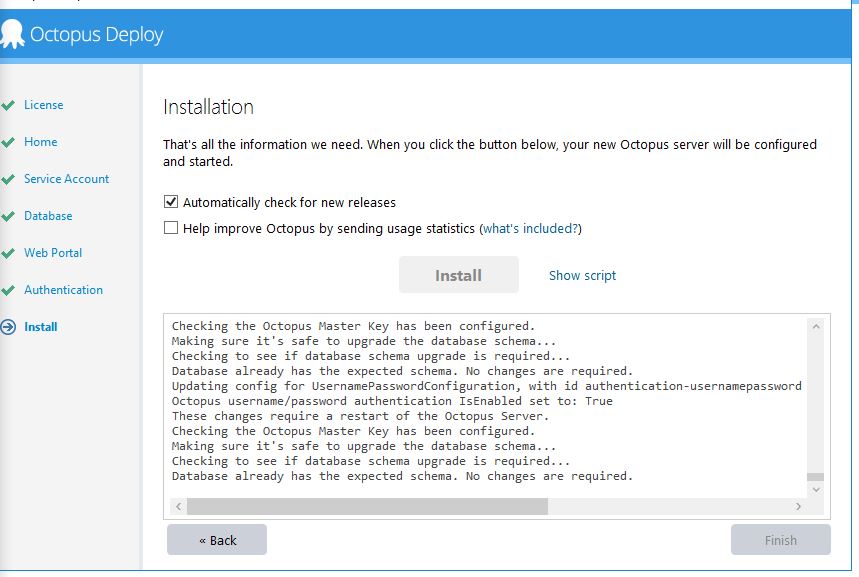
A windows service named OctopusDeploy is created, it should start automatically at windows startup. Note: you should backup your octopus masterkey, the key is used for data encryption, to show your master key run the following command from command prompt: octopus.server show-master-key
Now navigate to http://192.168.56.101:8888 (replace with your remote machine ip) and login with your admin credentials just created
As soon as you log in you are prompted with a setup wizard, click on “create your first environment”
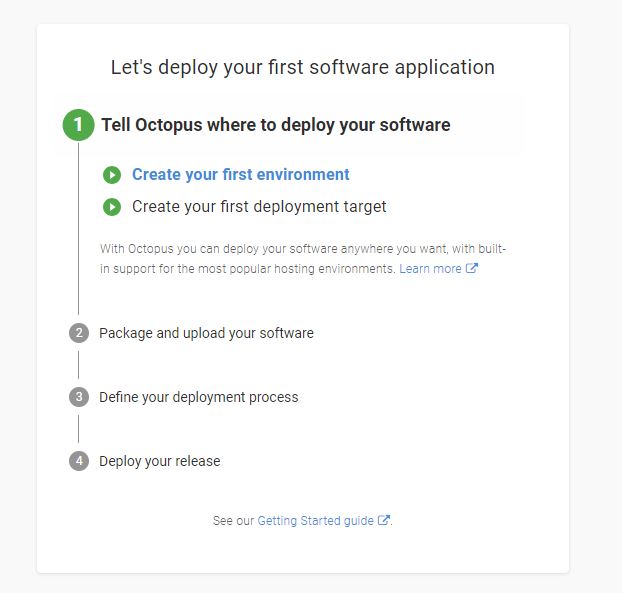
I called it “Staging”
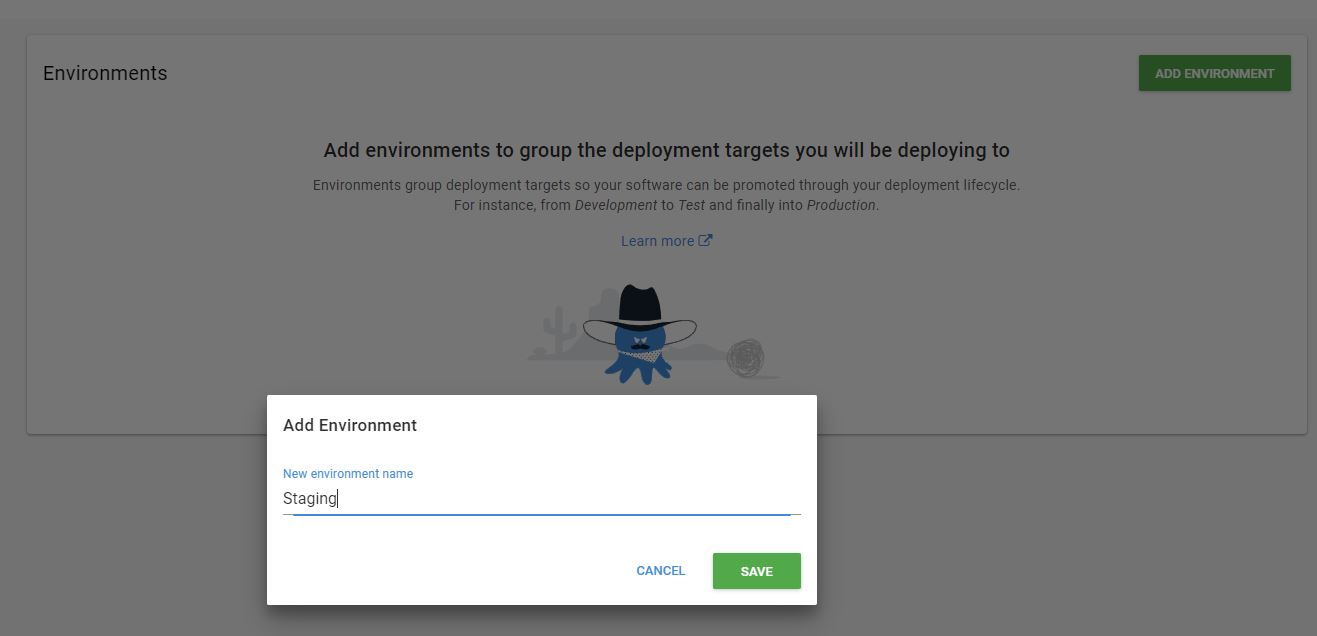
After that you need to add a deployment target
In the next step you’ll be prompted with a thumbprint and a form (used to specify the Tentacle details)
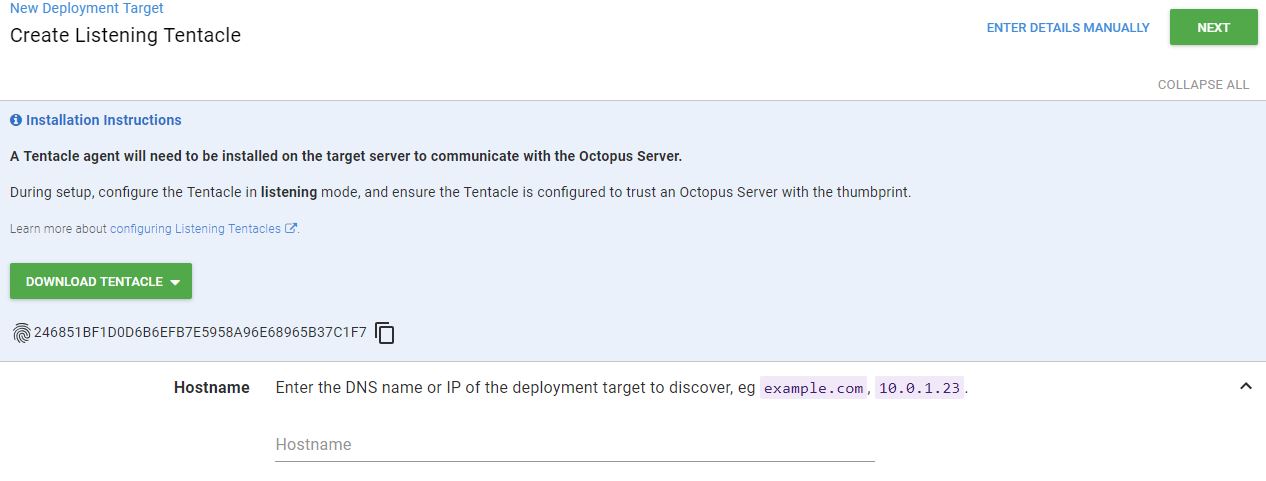
We don’t have a tentacle yet.. Copy the thumbprint.. it’s now time to install our first tentacle on a new machine (we will come back here ***)
Install a tentacle
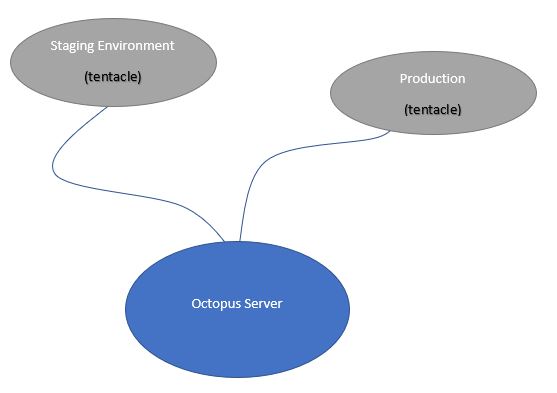
Now that the octopus server is installed we need to install our first tentacle on a different machine. A tentacle is a lightweight agent service, it communicates with octopus server. Octopus server will be responsible to deploy packages to the machines where the tentacles are installed.
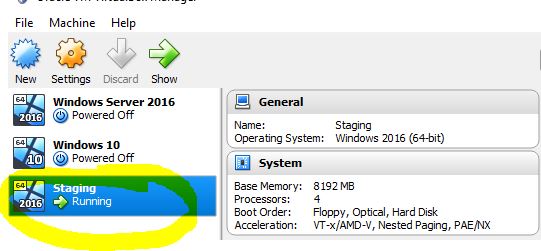
For the tentacle machine I created a new virtual machine called Staging.
and from the octopus website I’ve downloaded and installed Octopus Tentacle
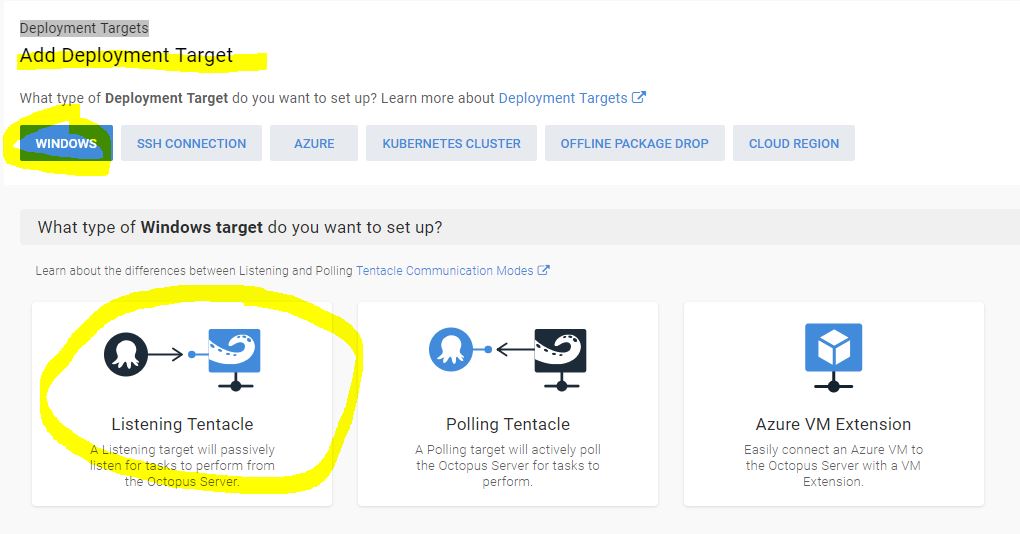
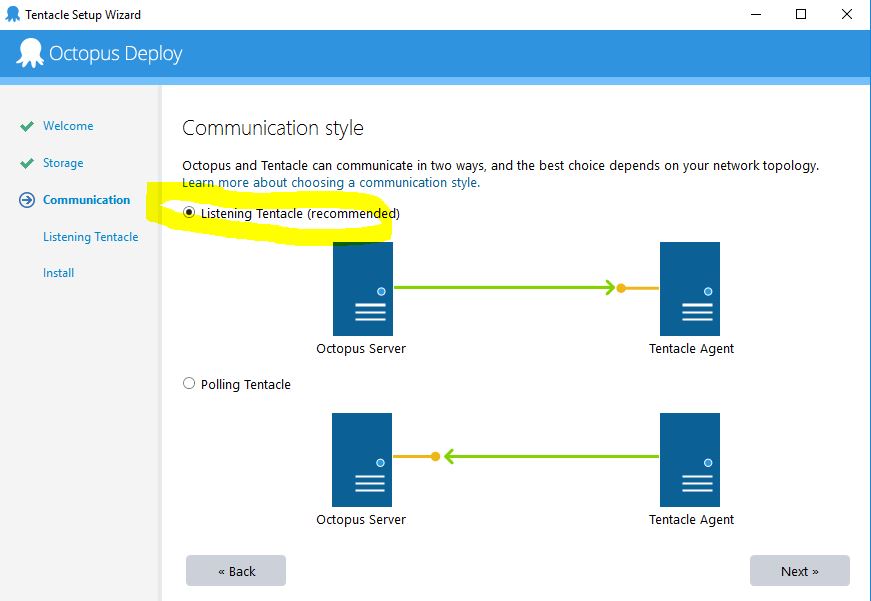
When you install the tentacle using the wizard select “listening tentacle”
In the next step we need to insert the thumbprint we copied before, the thumbprint is used by the tentacle to trust the Octopus server.
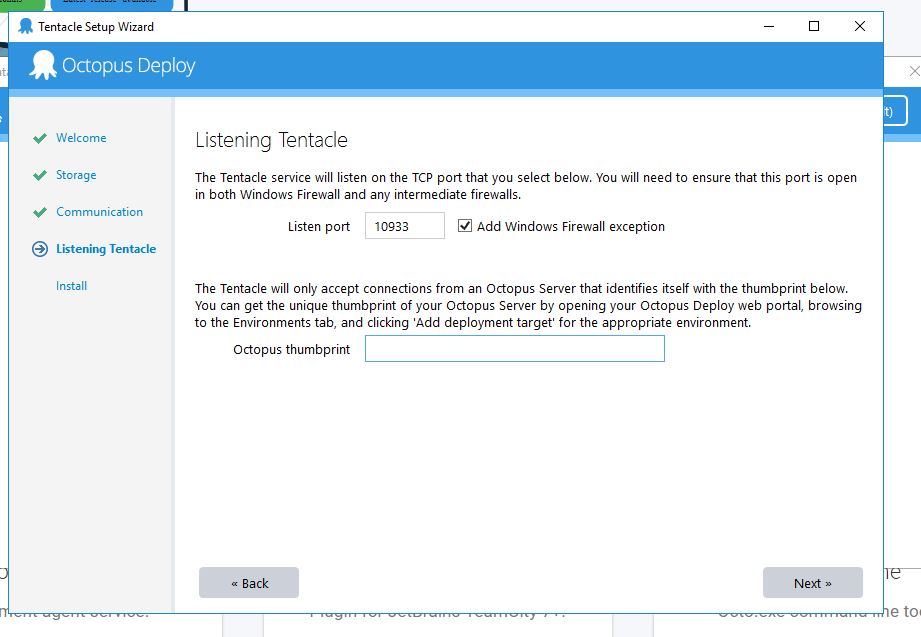
When the installation is completed a Tentacle windows service will be running..listening for incoming requests from the Octopus server.
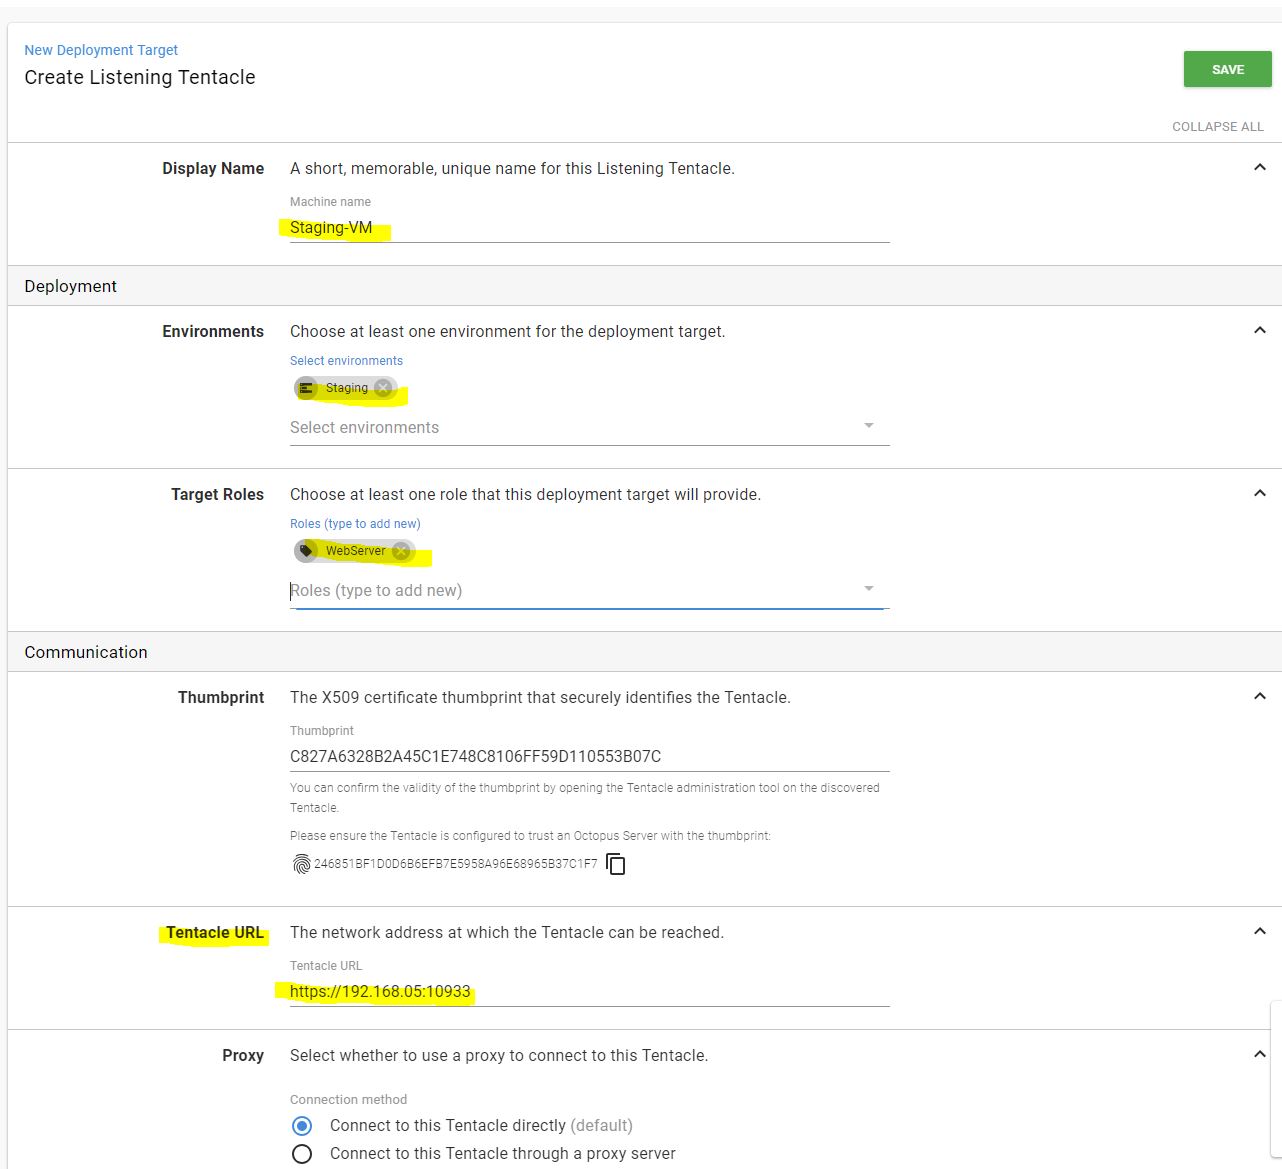
Now we leave the staging machine and we go back to the point where we were creating our first deployment target ***
Insert the IP address of the machine where the tentacle is installed (I had to create a NAT network in virtual box to achieve this)
If the Tentacle can be reached you can create a deployment target, specify display name (a unique machine name), environment name and target roles:
note: after your new deployement target is created you might need to update your calamari version.
The Build Server
Install Jenkins
note: I’ve installed Jenkins in the same machine where I installed OctopusDeploy.
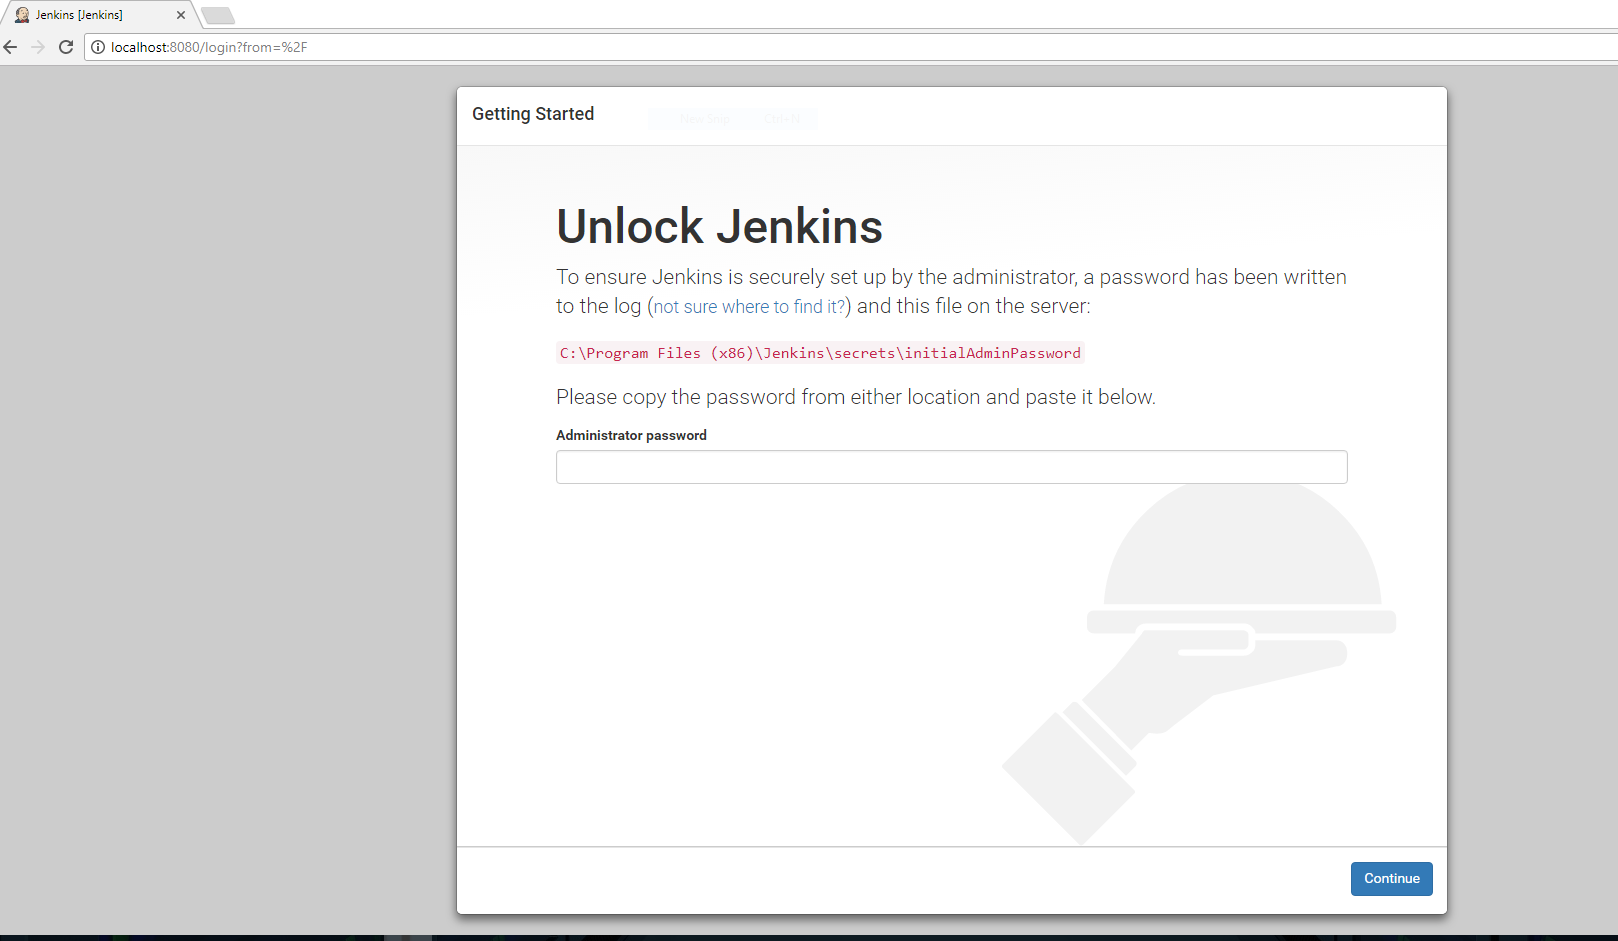
Download and run the windows installer, the windows installer automatically runs Jenkins as a windows service.
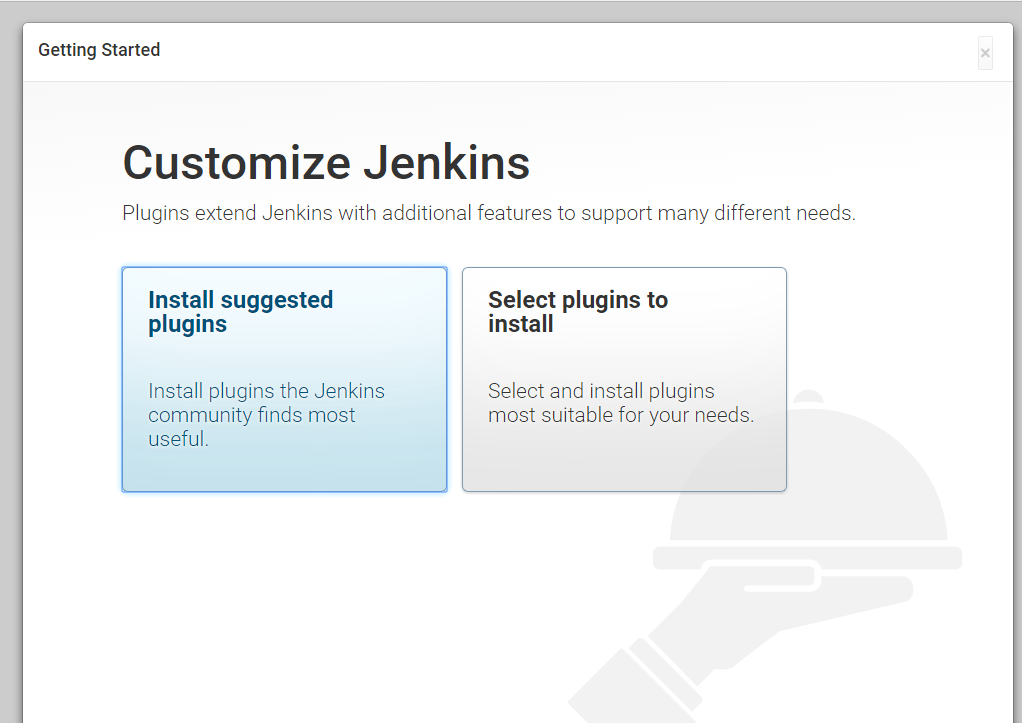
Navigate to localhost:8080 and follow the installation steps
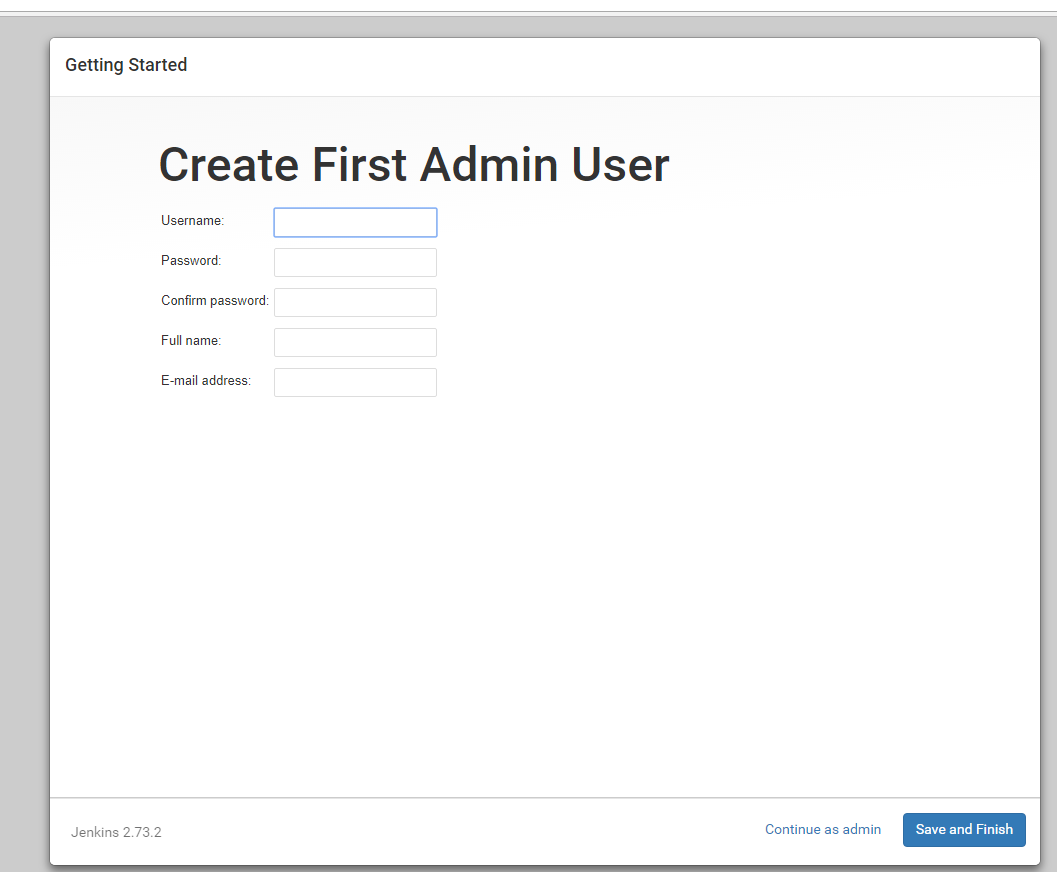
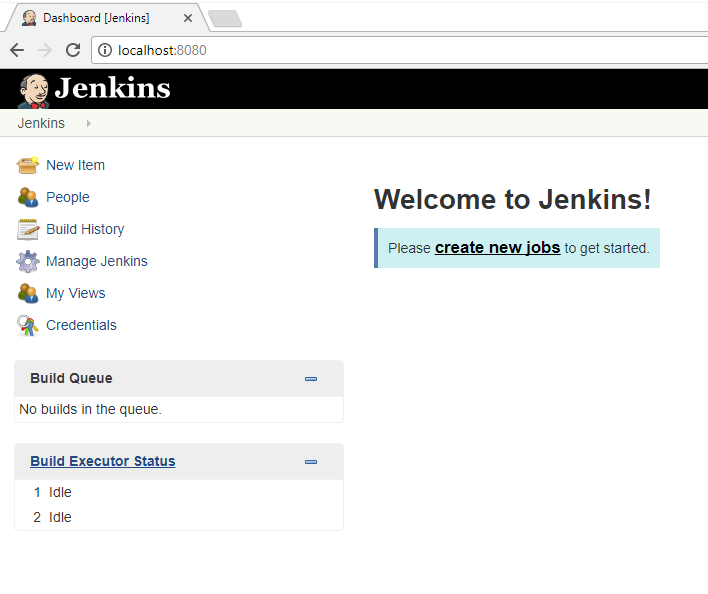
Create your first project
Click on create new jobs. note: in Gogs I created a new repository called OctopuTest where I published e simple MVC web project
note: before starting you need to have the VS build tools installed in your server: https://visualstudio.microsoft.com/downloads/#build-tools-for-visual-studio-2017
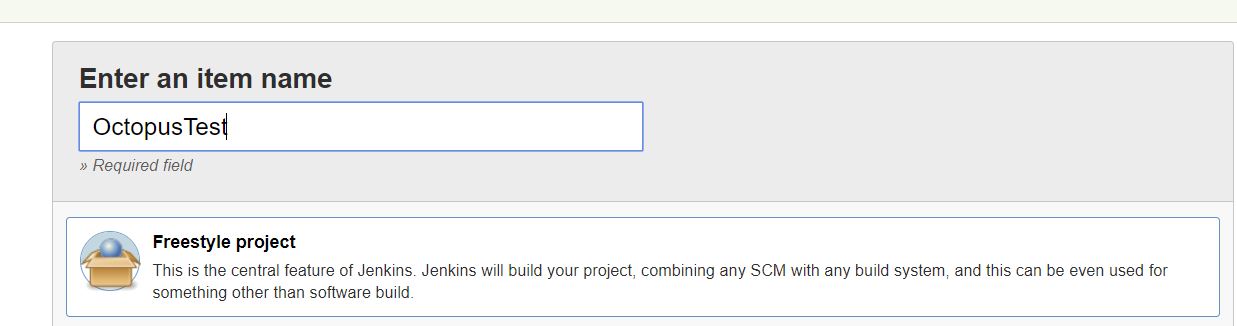
I created a freestyle project called OctopusTest. In the next step I specified my repo url and the branches I want to build. The repo is public and it’s in the same server, so I don’t need any credentials in this case.
note: In case you use another repo server like GitHub you will need to provide authentication.
In the build section add build step “Build VS proj using MSBuild” and specify the name of your solution.
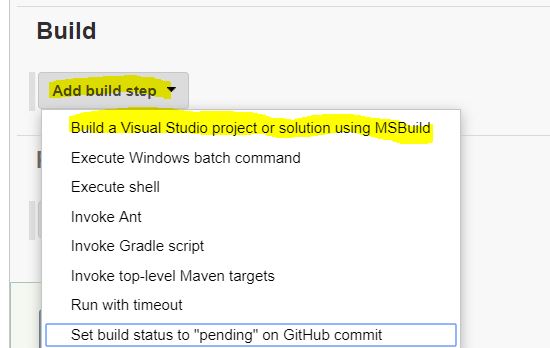
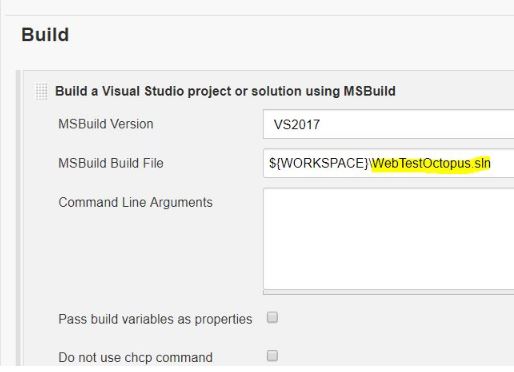
the VS2017 version was specified in the global configuration tools:

build now! The blue ball means that the last build was successful.

Put Everything Together
Install octopack in your solution using nuget package manager. This will be needed to build a nuget package that octopus will use to deploy.

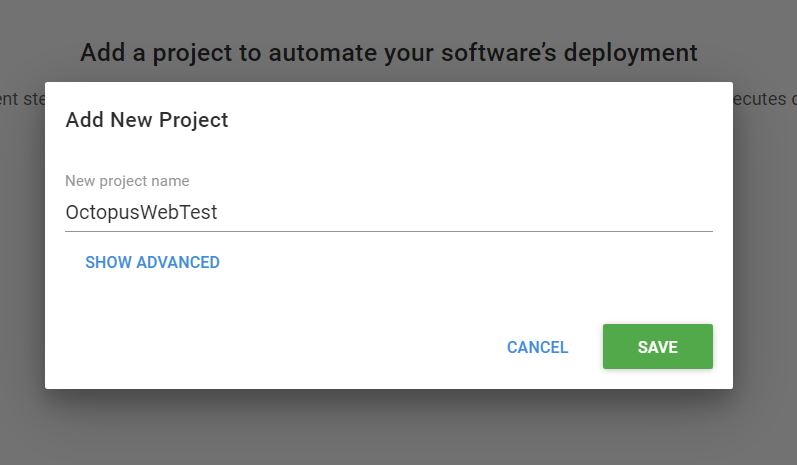
In Octopus create your first project
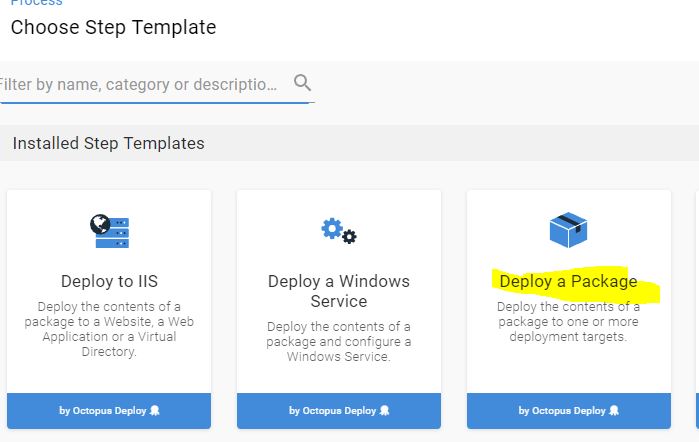
Click “Define your deployement process”, then “Add Steps” and choose “Deploy package”
Specify process name, add role and specify package name (in this case the name of the solution)
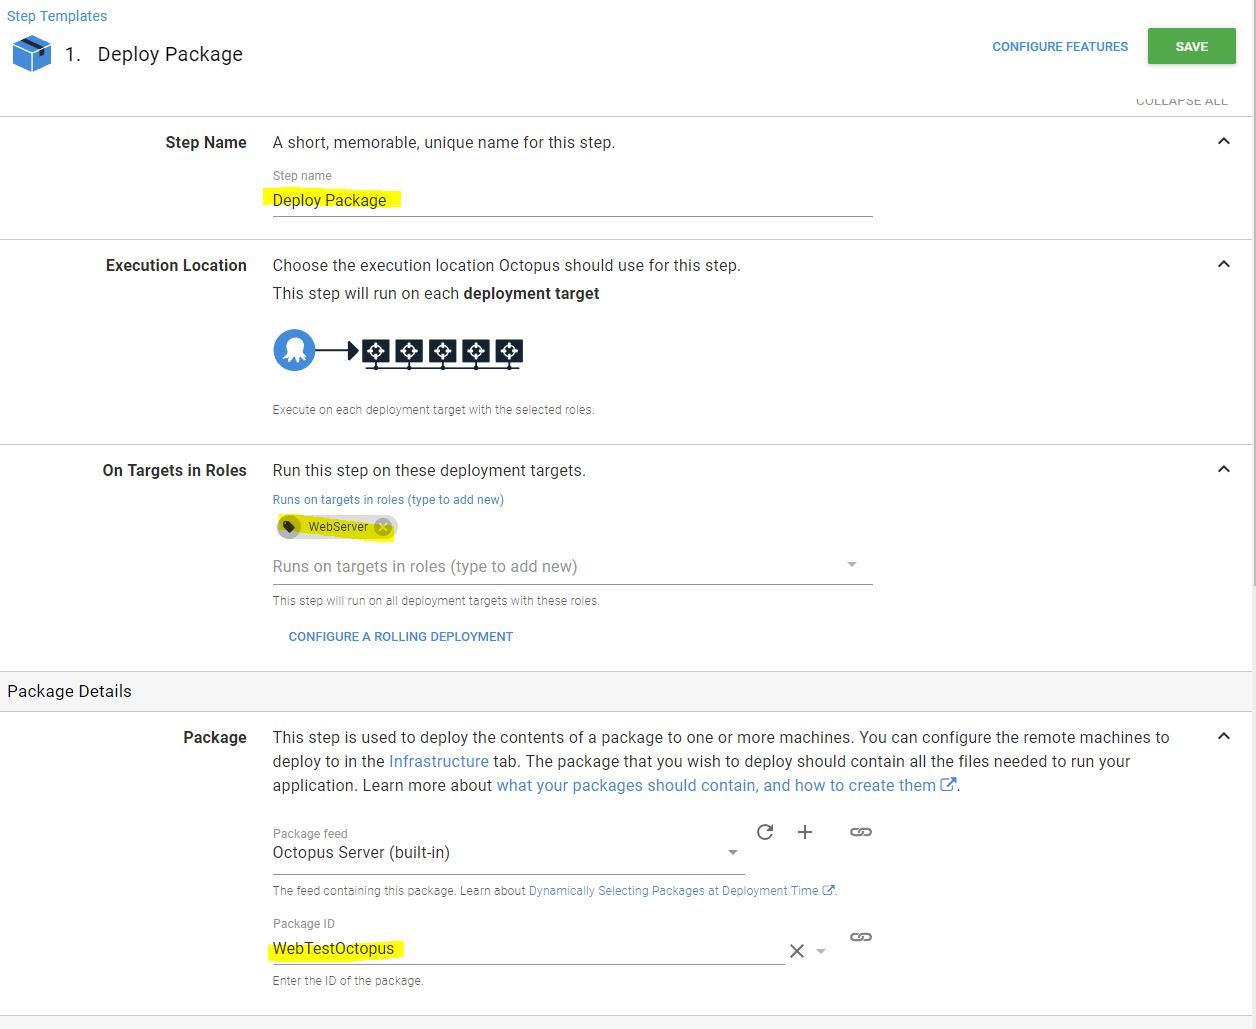
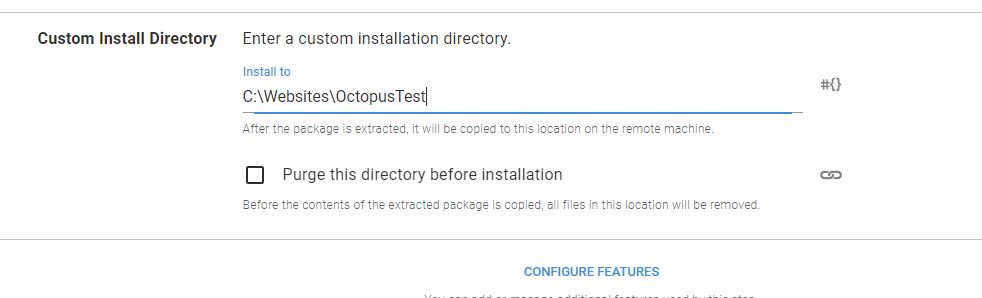
expanding “configure feature” you can specify where you want to install the package, at the moment I have only one environment (staging). When you add a new environment, e.g. UAT, you need to have the same folder configuration in UAT machine, otherwise you need to use variables.
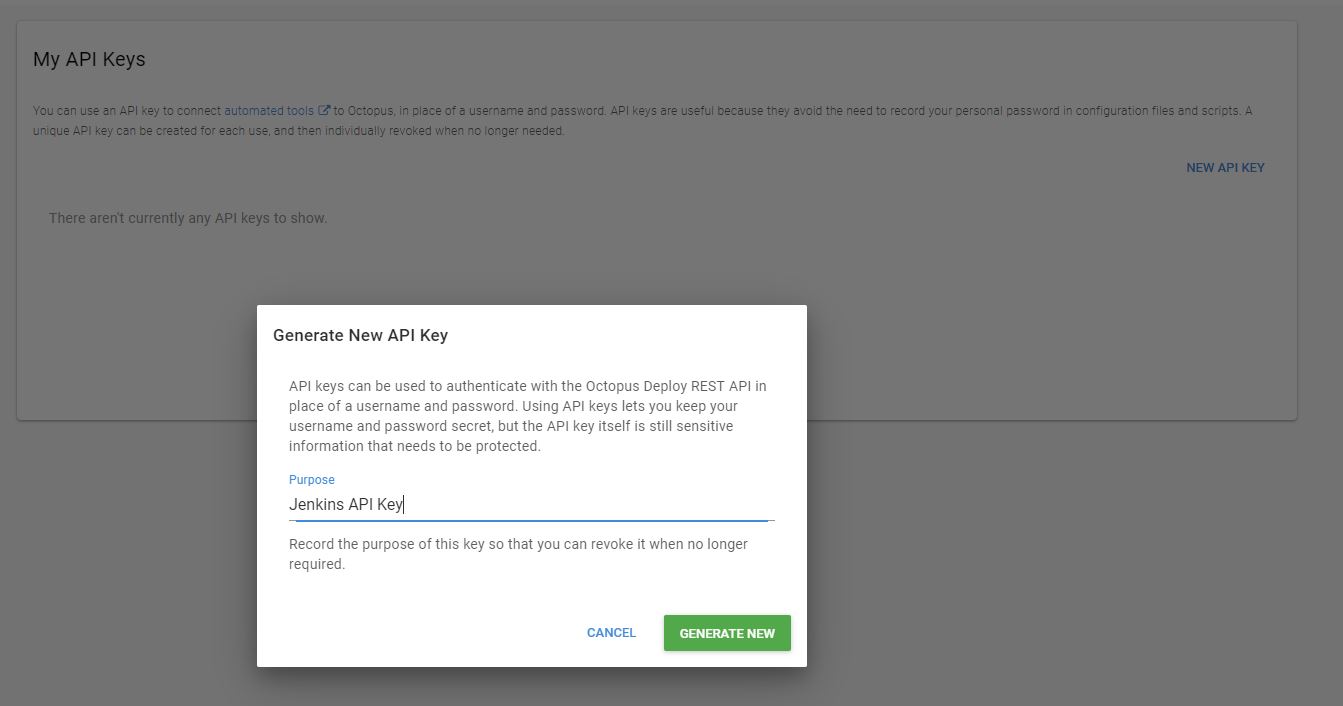
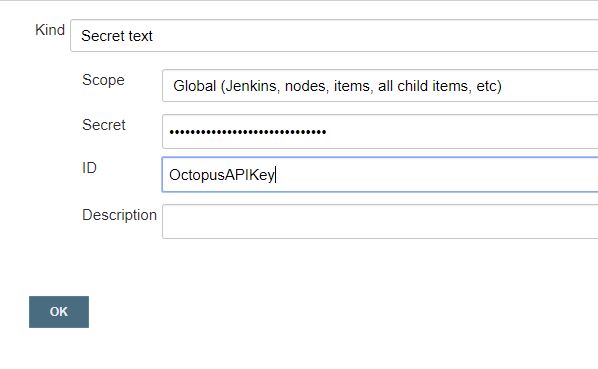
After this we need to create an API Key to allow Jenkins to communicate with octopus.
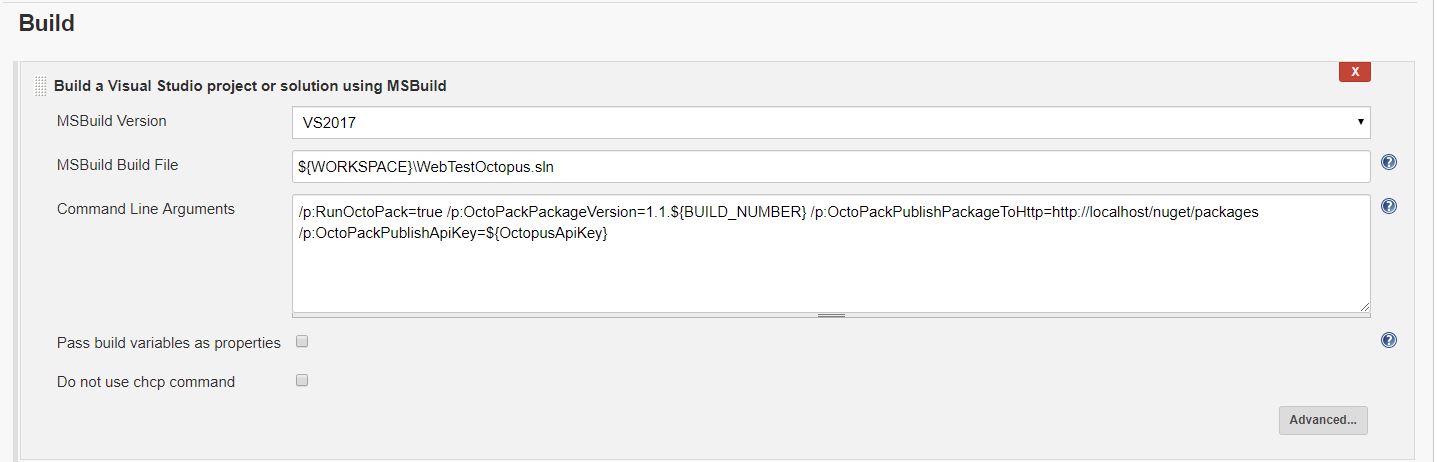
in Jenkins, in OctopusTest propject click configure, in the build step add the following command line instructions
/p:RunOctoPack=true /p:OctoPackPackageVersion=1.1.${BUILD_NUMBER} /p:OctoPackPublishPackageToHttp=http://localhost/nuget/packages /p:OctoPackPublishApiKey=${OctopusApiKey}
you can find more info here https://octopus.com/docs/api-and-integration/jenkins
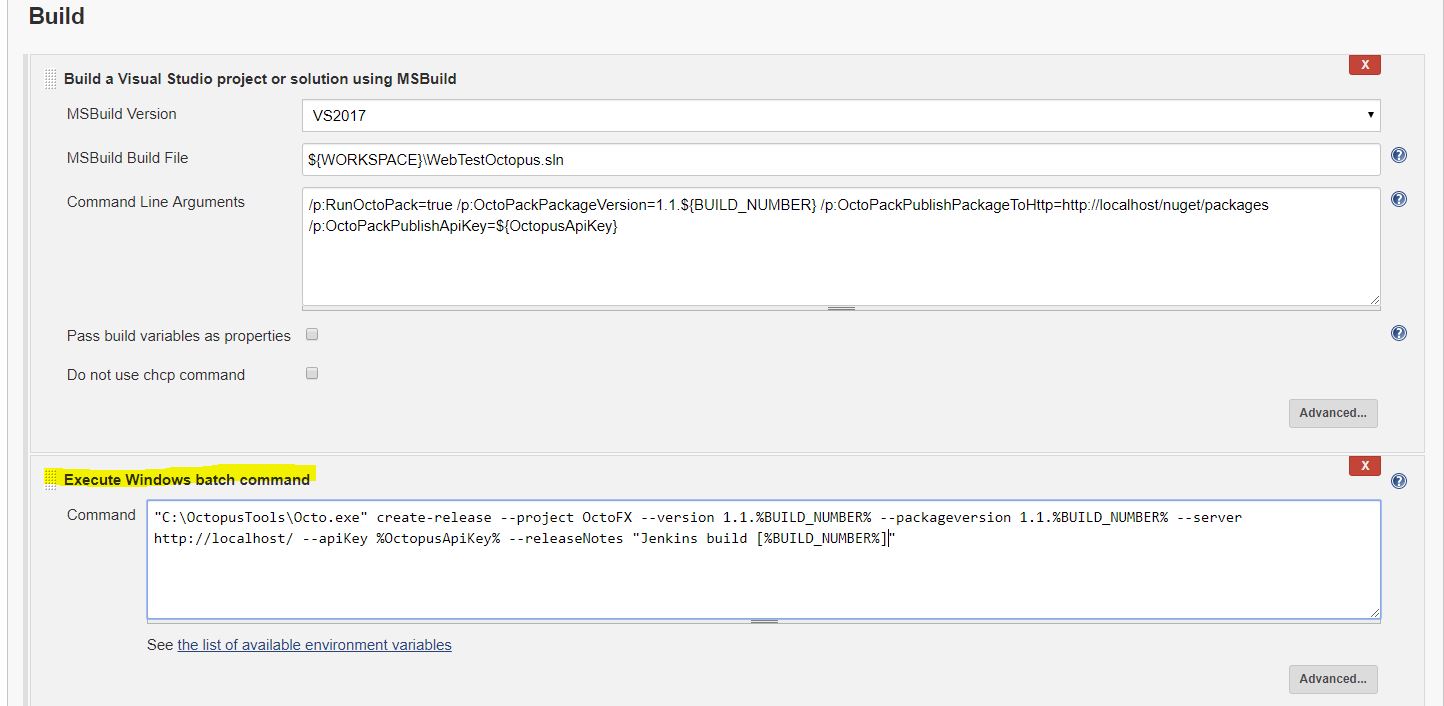
download the command line tool https://octopus.com/downloads and extract it in jenkins machine. Add a build step “Execute Windows batch command” in order to create an octopus release after the package is created
“C:\Tools\Octo\Octo.exe” create-release –project OctoFX –version 1.1.%BUILD_NUMBER% –packageversion 1.1.%BUILD_NUMBER% –server http://localhost/ –apiKey %OctopusApiKey% –releaseNotes “Jenkins build [%BUILD_NUMBER%]”
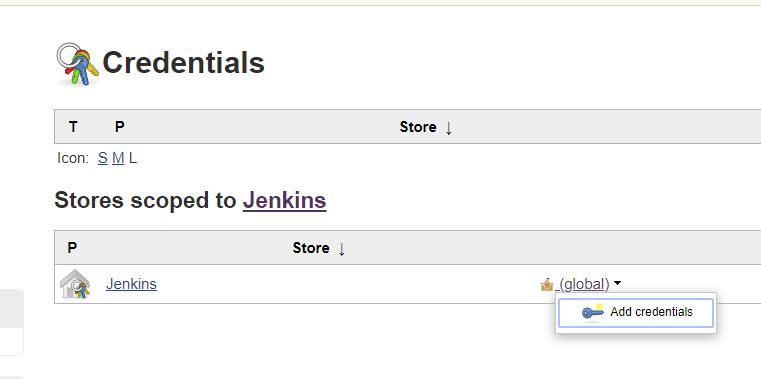
and add the OctopusApiKey in Credentials
TO COMPLETE